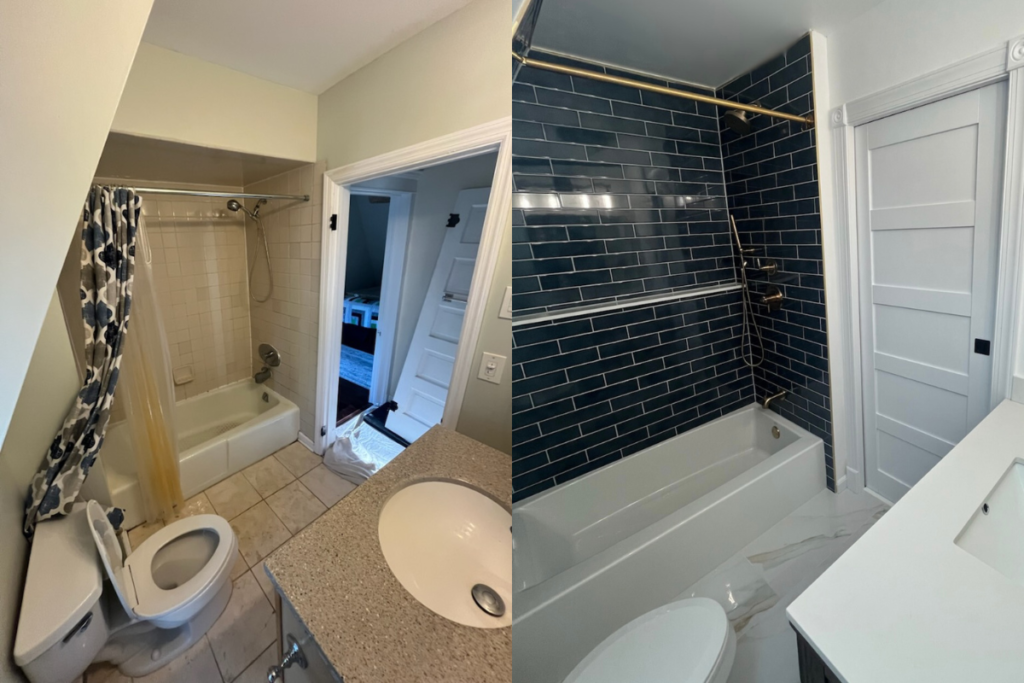

1. What Grout Does That Silicone Can’t
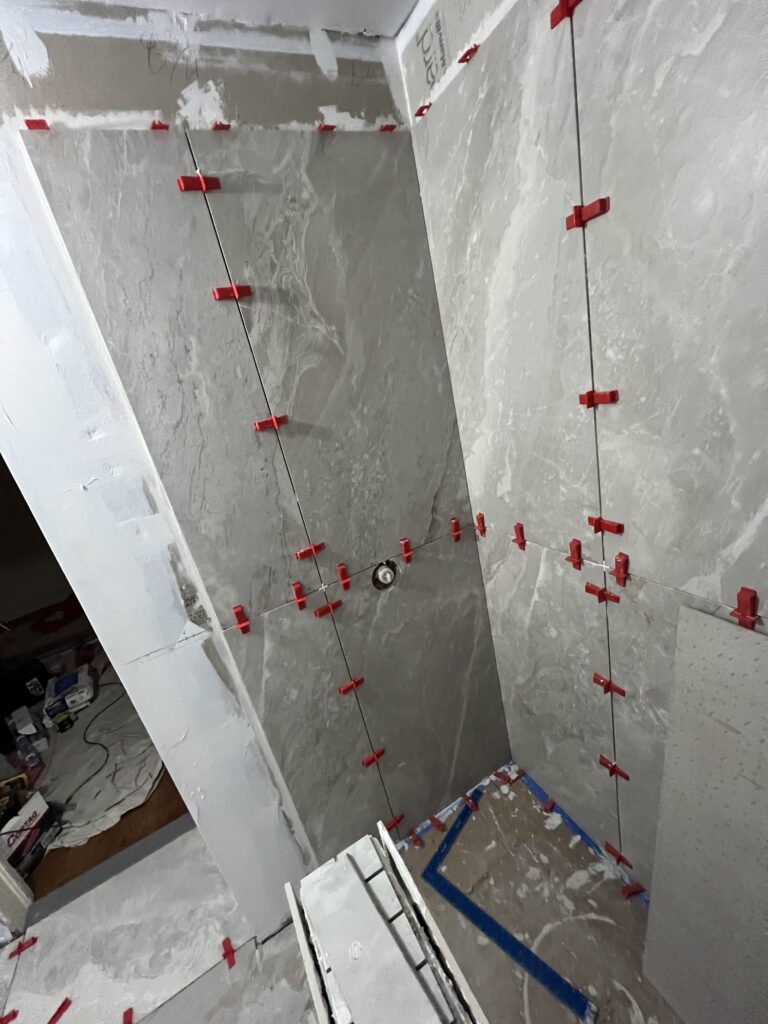
Grout is a cement‑based filler. Installers push it into the spaces between tiles, then wipe off the extra. By the next day, it has hardened into a solid frame that locks the tiles together.
- Primary role: Provide strength and support across flat tile fields.
- Feel: Rigid and slightly rough; it does not bend when the wall shifts.
Think of grout as mortar in a brick wall. Without it, tiles would slide out of alignment, and the pattern would never stay straight.
2. What Silicone Does That Grout Can’t
Silicone is a flexible, rubber‑like sealant squeezed from a tube. It never becomes brittle and can stretch without tearing.
- Primary role: Seal joints that move and block water at corners, edges, and fixture cutouts.
- Feel: Smooth and stretchy, able to compress and rebound as surfaces expand and contract.
- Waterproof: Stops liquid from sneaking into gaps that grout would crack under.
Silicone acts like a shock absorber. As the building breathes and the shower heats up, silicone flexes to keep the joint closed.
3. Why One Material Alone Is Not Enough
- Grout by itself is strong but brittle. House framing swells in humidity and shrinks in dry spells. Hot water and cold air cycle daily. These small shifts stress grout, and hairline cracks form—inviting leaks.
- Silicone by itself is waterproof but too soft to hold tiles steady. Over time, tile edges could drift, making lines uneven and leaving wider, messy gaps.
Using both means each covers the other’s weak spot: grout locks the pattern; silicone keeps the edges watertight.
4. Where to Use Grout Only
- Field joints: The regular grid between tiles on walls and floors.
- Decor borders: Strips or patterns where precise spacing matters.
- Shelf faces: Flat, open areas of a built‑in niche—except the internal corners, which still need silicone.
Rigid grout here ensures a firm, level surface that can handle daily scrubbing without loosening.


5. Where to Use Silicone Only
- Vertical corners: Any place two walls meet.
- Change‑of‑plane joints: Where the wall meets the shower pan, tub, or floor.
- Around plumbing trims: Escutcheons, showerheads, and body spray penetrations.
- Glass enclosure tracks: The seam where metal or glass meets tile.
These zones move the most. Silicone bends, keeps water out, and prevents stress from reaching the tile field.
6. The Physics of Their Partnership
Tile and backer board expand with heat; wood framing behind the wall moves with moisture changes. When movement pushes outward, pressure travels toward the nearest flexible joint—your silicone line. The silicone stretches quietly, then returns as the wall cools and dries. Meanwhile, the hard grout grid behind it stays intact, so tiles remain flat and evenly spaced. The two materials relieve each other—one providing flexibility, the other rigidity.
7. Common Errors and How to Fix Them
| Problem | Likely Cause | Recommended Repair |
| Cracked grout in a corner | Grout used where silicone was needed | Remove cracked grout, clean, and insert color‑matched silicone |
| Dark stains in grout lines | Grout never sealed or sealant worn off | Deep‑clean, let dry, apply penetrating grout sealer |
| Mold on silicone line | Wrong product (acrylic caulk) or poor cleaning | Scrape out, wipe area with alcohol, apply 100% mildew‑resistant silicone |
| Loose tiles near floor | No grout support or water behind wall | Investigate moisture, reattach tiles, re‑grout, seal, and ensure silicone at change‑of‑plane |
A quick inspection every few months can catch these issues early, saving costly repairs later.
8. Choosing the Right Grout
- Sanded grout fits joints 1⁄8‑inch wide or larger. The sand keeps the mix from shrinking.
- Unsanded grout fills tighter joints and works on glass or polished stone because it won’t scratch.
- Pre‑mixed or epoxy grout costs more but resists stains and often needs no sealer. Ideal for shower floors that see the most water.
Match the grout color to your tile for a seamless look, or choose a contrasting shade to highlight the pattern.


9. Selecting Quality Silicone
- Look for tubes marked 100% silicone and mildew resistant—brands like GE, LATICRETE, or ColorRite.
- Buy a hue that blends with your grout or tile. Many lines offer over 40 colors.
- Skip latex “tile and tub” caulks in wet zones; they shrink and mildew quickly.
Store silicone at room temperature and use a smooth, steady bead for best results.
10. Simple Care Routine
After each shower: Run a squeegee down the walls to remove excess water.
Weekly: Wipe grout and silicone with pH‑neutral cleaner; avoid bleach that can break down seals.
Every 6–12 months: Check silicone lines for gaps and re‑seal if needed. Reseal cement grout unless you used an epoxy or pre‑sealed variety.
This light maintenance keeps both materials performing like new.
11. Real‑Life Cost Comparison
Neglect can be expensive. Replacing a failed silicone joint early might cost $15 in materials and an hour of DIY time. Ignoring cracks can lead to moisture behind the tile, requiring demolition, mold treatment, and rebuild—often well over $2,000. A small, preventive step beats a major, disruptive repair every time.

12. Key Takeaways
- Grout delivers strength; silicone delivers flexibility and a watertight seal.
- Both are essential. Each covers the other’s weakness.
- Use grout in the spacious grid, silicone at corners and edges.
- Quality products and quick, regular upkeep protect your shower and your wallet.
When you plan a bathroom update—or simply inspect the one you have—keep the two‑step seal in mind. Whether you tackle the project yourself or hire a professional, insist on proper placement of grout and silicone. Your shower, your health, and your budget will thank you for years to come.